

Terracotta Tile Restoration in Pembrokeshire: Care and Sealing
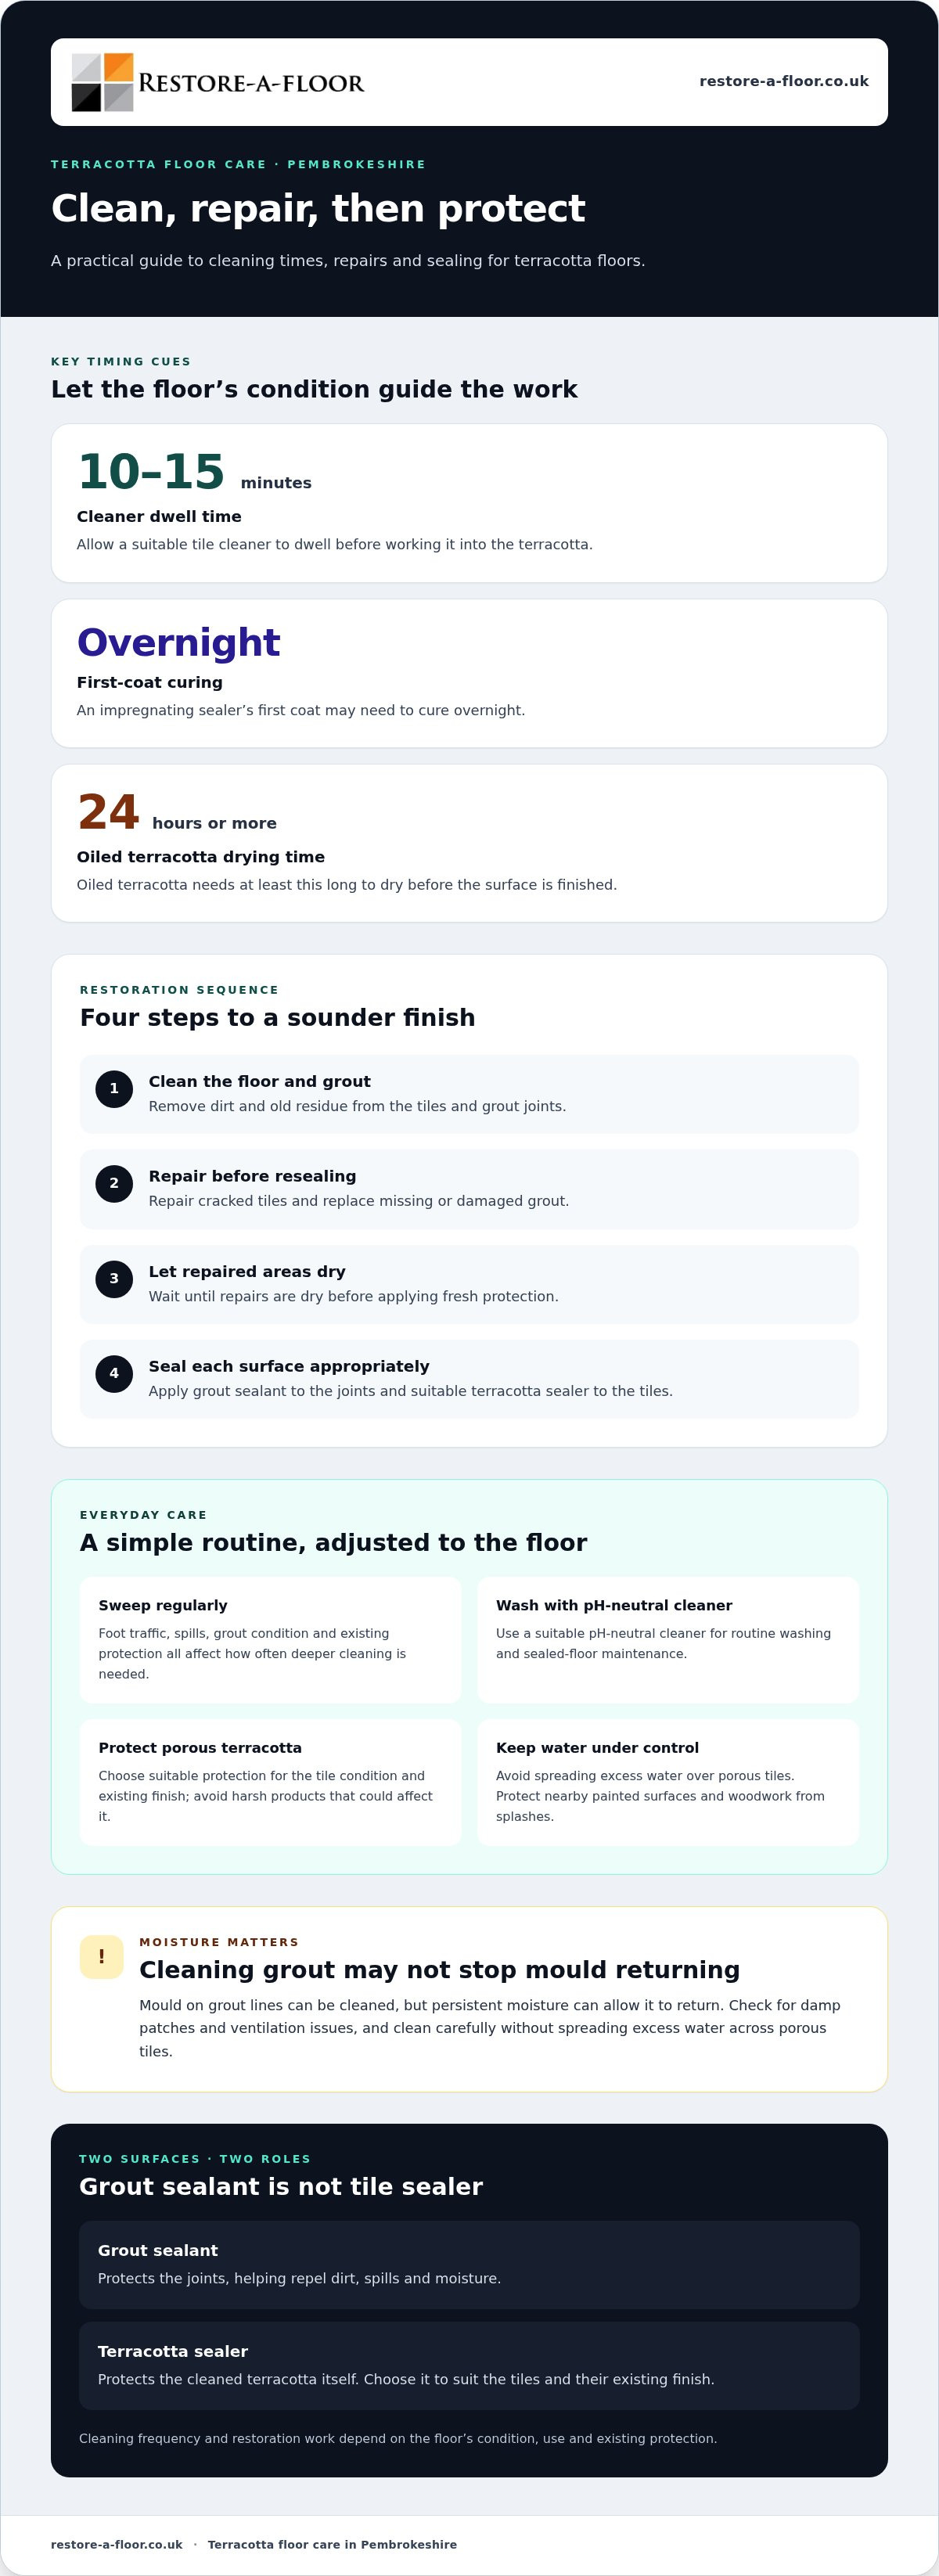
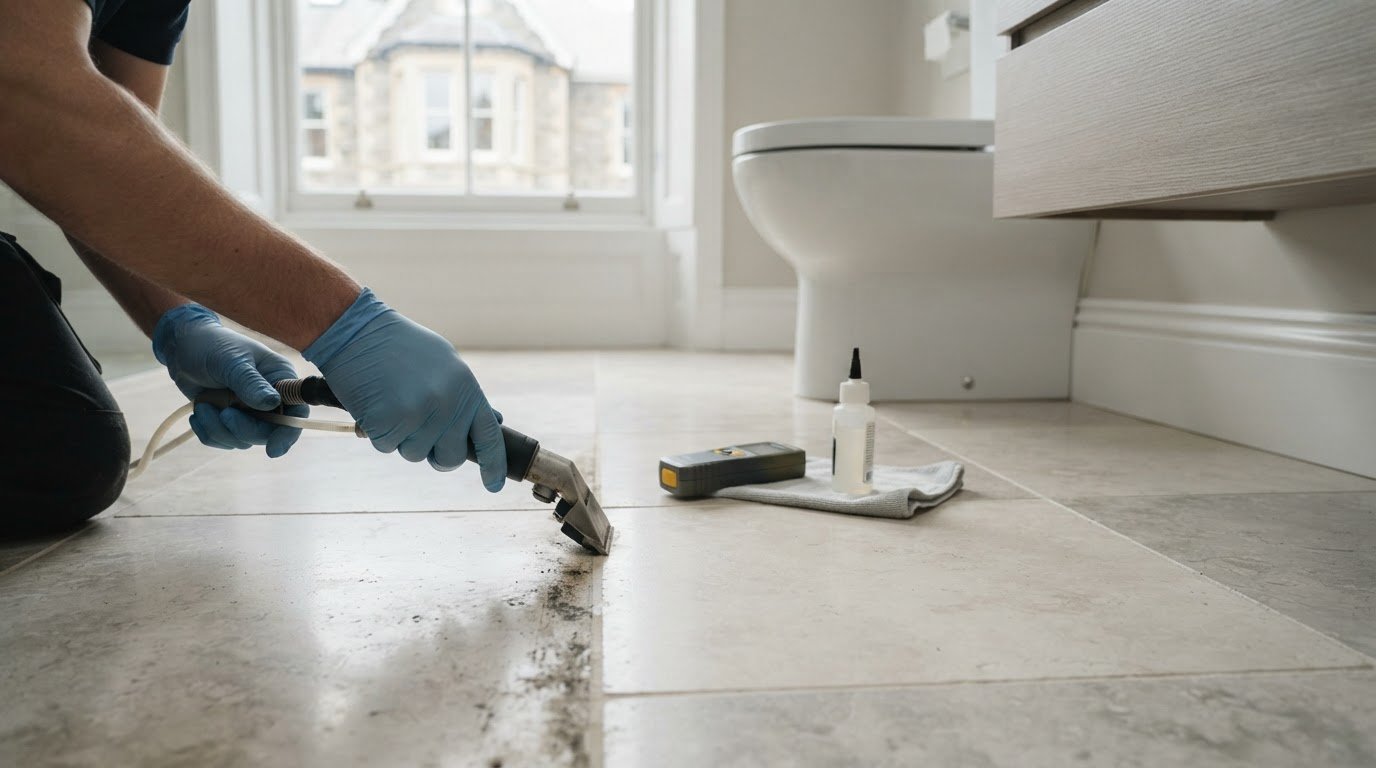
Mould in grout doesn’t automatically mean a terracotta floor needs replacing. Terracotta tile restoration in Pembrokeshire can include cleaning mould from grout lines using methods suited to the tiles and their existing finish. If the moisture source remains, mould may return. The aim is to clean the floor carefully while preserving its character.
It’s understandable to want a clear cleaning routine, especially when porous terracotta is in a busy kitchen or period-property hallway. Regular sweeping and a suitable pH-neutral cleaner help with everyday care. Deeper cleaning and renewed protection depend on the floor’s condition, use and existing sealer.
This guide explains how mould removal, cleaning frequency and grout sealing relate to terracotta floors, and what to consider when restoring original tiles in older Pembrokeshire homes. You’ll also learn how professional restoration can tackle ingrained dirt and worn finishes while preserving the floor’s distinctive look.
Table of Contents
How frequently should I have my tile and grout cleaned?
There’s no single cleaning interval for terracotta. Foot traffic, spills, grout condition and existing protection all matter. Sweep regularly, then use a suitable pH-neutral cleaner for routine washing.
Terracotta tile restoration in Pembrokeshire can include deep cleaning, grout care and renewed protection, with the approach tailored to the floor’s condition. Restore-A-Floor provides Tiled Floor Restoration & Cleaning, adapting the work to the tiles and existing finish.
Deep cleaning and stripping terracotta
Deep cleaning removes ingrained soil and old sealer where routine washing no longer restores the surface. Specialist sealer removers and cleaning solutions can lift residue while preserving the terracotta. Apply a suitable tile cleaner and allow it to dwell for 10-15 minutes before working it into the tiles. Protect nearby painted surfaces before wet cleaning, particularly skirting boards and door frames.
Sealing and cleaning terracotta floors
Unglazed terracotta is porous, so suitable protection helps limit the absorption of spills and dirt. After cleaning, let the floor dry before applying an appropriate sealer, chosen to suit the existing finish and tile condition. Maintain sealed floors with a pH-neutral cleaner rather than harsh products that could affect the finish. Clean grout lines carefully as part of routine floor care.
Mould on grout lines can be cleaned, but persistent moisture can allow it to return. Check for damp patches and ventilation issues, and avoid spreading excess water across porous tiles. Restoration time depends on the cleaning required, the floor’s condition and the finish being applied. An impregnating sealer’s first coat may cure overnight; oiled terracotta needs at least 24 hours to dry before the surface is finished.
Natural stone floors also need cleaning methods suited to their material and finish; don’t assume a terracotta cleaner is suitable for every stone. In a country cottage, protect painted skirting and nearby woodwork before applying cleaning solutions, and wipe splashes away promptly. These steps help keep restoration focused on the floor without marking adjacent surfaces.
Do you apply grout sealant after cleaning?
Yes, sealing grout after cleaning helps repel dirt, spills and moisture. Terracotta tiles also need suitable protection, as grout sealant and tile sealer serve related but distinct purposes. Grout sealant protects the joints; a suitable sealer is applied to the cleaned terracotta itself.
Repair comes before resealing. Repair cracked terracotta tiles and replace missing grout before applying new protection. This gives the finished floor a sounder, more consistent surface. Check joints regularly for gaps, crumbling material or discolouration, and inspect cracks for loose edges or debris.
Chips and holes need individual attention. Their depth, position and the tile’s condition guide the repair: a small surface chip differs from a hole that exposes the tile body. A suitable repair should complement the terracotta’s colour and texture rather than leave a conspicuous patch. Ceramic, marble and terracotta are different materials, so a repair method for one shouldn’t automatically be used on another.
For a sound result, the usual sequence is straightforward:
Remove dirt and old residue from the floor and grout joints.
Repair cracked tiles and replace missing or damaged grout.
Allow repaired areas to dry before applying protection.
Apply suitable grout sealant and terracotta sealer to their respective surfaces.
Professional tiled-floor restoration and cleaning can bring these steps together when damage, residue and worn protection affect the same floor. An independent assessment of the surface helps distinguish cleaning needs from repairs, so the work addresses the actual condition rather than covering defects. If cracked tiles or failed grout are affecting your floor, tiled floor restoration and cleaning can provide a practical next step for bringing cleaning, repair and resealing into one considered process.
Areas served in Pembrokeshire
Terracotta restoration can be planned for homes across Pembrokeshire, from coastal locations to properties near the county’s eastern boundary. Pembrokeshire borders Carmarthenshire to the east and Ceredigion to the north-east, with the sea along its other boundaries. A property’s location helps shape access, preparation and protection for surrounding surfaces.
For a coastal home, note any existing salt deposits, damp patches or worn grout before work begins. These signs help distinguish surface dirt from issues that need attention before cleaning. Inland, a farmhouse near the Preseli Hills may have original terracotta alongside other floor materials. Record each surface separately, since one cleaning method may not suit every material.
Pembrokeshire Coast National Park occupies more than a third of the county, and the Pembrokeshire Coast Path extends for 190 miles. Those landmarks illustrate the county’s broad coastal geography, rather than a single cluster of homes. For a restoration plan, identify the property’s village or town, the rooms involved and the route from entrance to work area. This makes it easier to plan floor protection and movement through the home.
Before cleaning, photograph the floor and mark cracked tiles, loose grout and areas with a different appearance. Move rugs and furniture, then cover nearby painted surfaces to guard against splashes. If the project includes a new tiled area beside an older floor, note where the materials meet. This helps guide cleaning and finishing while preserving the character of the original tiles.
Carew Cheriton offers a local example of the county’s historic tiled heritage: St Mary’s Church has a sanctuary pavement with relaid heraldic tiles from the fifteenth and sixteenth centuries. A period home needs similarly careful observation, but domestic terracotta should be assessed on its own condition. Record the tile finish, previous coatings and grout condition before deciding the restoration sequence. These details help define the work needed for a Pembrokeshire property.
Terracotta in period-property restoration
Victorian and Edwardian hallways often feature clay tiles, while terracotta appears in Edwardian, Tudor and Victorian architecture. In a Pembrokeshire period home, identify whether the floor is original before planning work. Its age alone doesn’t determine the method: the tile’s condition, surface finish and previous treatments matter more. Careful assessment helps retain historic character while addressing dirt or worn protection.
Start by recording the floor’s layout, colour variations and visible repairs. Photograph areas near doorways, fireplaces and thresholds, where wear may differ from the centre. Note missing grout, loose tiles and uneven-looking coatings. These details help distinguish original features from later alterations and guide a restoration plan that respects the room’s design.
Adjacent materials need separate consideration. For example, a terracotta hallway may meet limestone at a doorway, and each surface responds differently to cleaning products. Protect the limestone edge and painted skirting before treating the clay tiles. Test the cleaning method in a discreet area, then assess any change in colour and finish before continuing across the floor.
Household members can help preserve the restored floor by placing entrance mats where outdoor grit comes in. Use soft brushes or sweeping tools to remove loose particles, rather than dragging furniture across vulnerable tiles. In a Tudor-style entrance, take care to retain any distinctive border or pattern during cleaning. The goal is to improve the floor’s condition without erasing details that contribute to the property’s character.
For a period property, the key decision is whether the proposed work protects original fabric while improving everyday use. Note the tile pattern, adjacent materials and previous repairs before restoration begins. If your Pembrokeshire home has a terracotta floor needing careful assessment and cleaning, arrange terracotta floor restoration as a considered next step.
Restore-A-Floor: Wood Floor Sanding & Refinishing
Restore-A-Floor provides Tiled Floor Restoration & Cleaning for terracotta floors affected by ingrained dirt, worn protection or deteriorating grout. Restoration can address cleaning and finish together, with the work tailored to the tiles’ condition and the property’s character.
It’s a practical next step when routine care no longer improves the floor’s appearance, or when repairs and resealing need to be coordinated. Restore-A-Floor also offers Wood Floor Sanding & Refinishing, Concrete Floor Polishing and Parquet Floor Supply & Installation for other flooring needs.
For terracotta restoration in Pembrokeshire, contact Restore-A-Floor or visit restore-a-floor.co.uk to discuss your floor.
Choose a considered next step for your terracotta floor
Before arranging work, decide how you want the room to feel: cleaner and more even, or retaining signs of age. This helps shape the restoration around your home rather than treating every tile as identical. A few clear photographs can also show colour variation, worn areas and grout condition.
For terracotta tile restoration in Pembrokeshire, note which rooms need attention and how the floor is used each day. Record any areas where moisture, staining or loose tiles are a concern. Sharing these details helps set a practical direction for the work while keeping the property’s character in view.
Restore-A-Floor can discuss the floor’s condition and the result you’re hoping to achieve. Contact Restore-A-Floor to discuss your terracotta floor and take a confident next step towards a finish that suits your home.
Frequently Asked Questions
Can you remove mould from the grout lines?
Yes, mould can be cleaned from grout lines, but the cause of persistent damp should also be addressed. Check for recurring condensation, leaks or poor airflow near the affected floor, then keep the area as dry as practical after cleaning. For example, if mould returns beside a sink, moisture around the fixture may need attention, not just another grout clean.
Will your method harm my tiles or grout?
Choose a restoration method to suit the tile material, grout and existing finish. Terracotta, ceramic and natural stone shouldn’t automatically receive the same treatment. Abrasive tools or unsuitable cleaning solutions can affect a tile’s surface or remove grout, so assess a discreet area first. Loose edges, weak joints and old coatings also influence how the floor should be treated.
How do you restore terracotta tiles: cleaning, repair and sealing steps?
Restoration follows the floor’s needs: remove surface dirt, address residue or old sealer, repair damaged tiles and grout, then protect the clean surface. For example, repair a cracked tile before resealing. The terracotta’s finish and condition inform the cleaning and protection choices, so plan the sequence around the floor rather than following a fixed recipe.
What are the best sealers for terracotta tiles in the UK?
The right sealer depends on the tile’s porosity, existing finish and the appearance you want. Impregnating sealer and acrylic wax are options for terracotta, but they create different finishes. Test suitability on a discreet tile and follow the product’s application instructions. Don’t choose by the label alone: the product must suit the floor’s current coating and intended maintenance.
How do you remove old sealer and stains from terracotta tiles?
Use a specialist sealer remover and cleaning solution suited to terracotta, working in a small area so residue can be lifted and removed methodically. For tile cleaner, allow 10-15 minutes of dwell time before working it into the surface. Stains may need separate treatment from old coatings, so identify whether the mark is residue, dirt or a change within the tile.
What are the common risks and damage during terracotta tile restoration?
Common risks include scratching the surface, loosening weak grout, leaving cleaner residue or applying sealer before the floor is ready. Excess water can also be problematic for porous terracotta. Before work starts, note existing chips, hollow-sounding tiles and colour variation, then protect adjacent painted surfaces. These checks help distinguish pre-existing wear from changes during cleaning or repair.
Comments